Sending a Message to Your Subscribers in PHPlist
Now we're ready to send a message to our subscribers in PHPlist. Please make sure you've worked through our previous articles (listed at the bottom of this page) before sending a message in PHPlist.
- If you're not already logged in to PHPlist, begin by logging in. In this example, we've installed PHPlist to the newsletter subdirectory, so our login page is located at example.com/newsletter/admin.
- Once you're logged in to your admin area, in the menu on the right side of the page, click the send a message link.
- On the send a message page you can compose and style your message in the Content tab. The built-in WYSIWYG (What You See Is What You Get) editor makes it convenient to style your message.
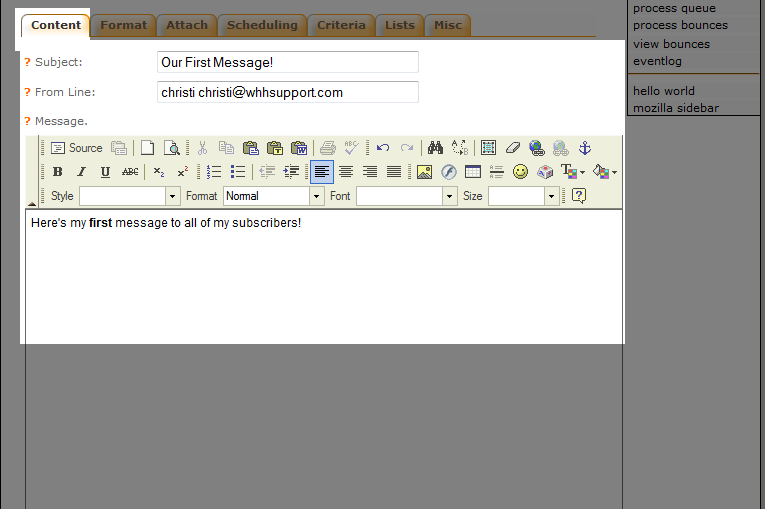
- You'll notice several other tabs on this page as well:
- Once you've composed your message, you can send yourself a test message by clicking the Send Test Message button. Make sure the email address you want the test sent to is entered in the text field next to this button and has been added as a user in at least one list. You should receive one copy of the message in HTML format and the other in text format.
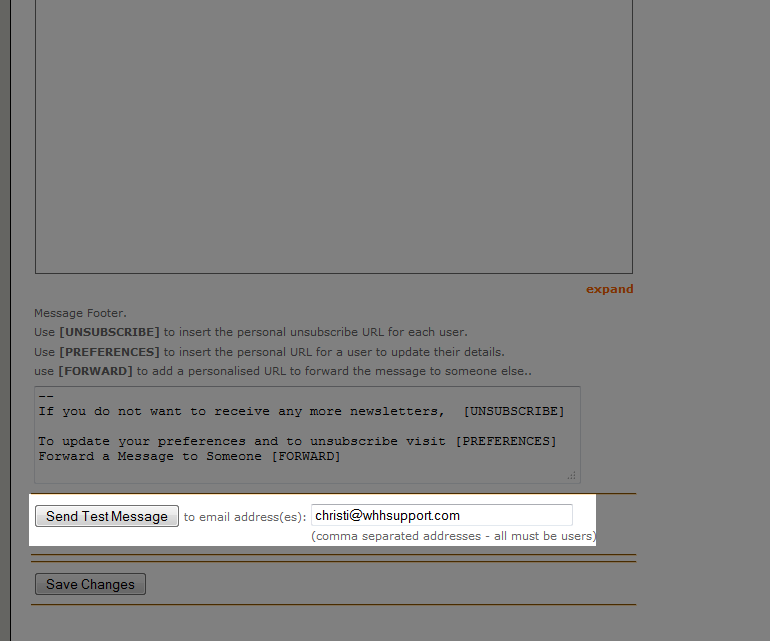
- When you are satisfied with your message, click the Save Changes button.
- Next, select the Lists tab and choose which lists (if you have more than one) you want your message sent to. Click the Send Message to the Selected Mailinglists button to continue.
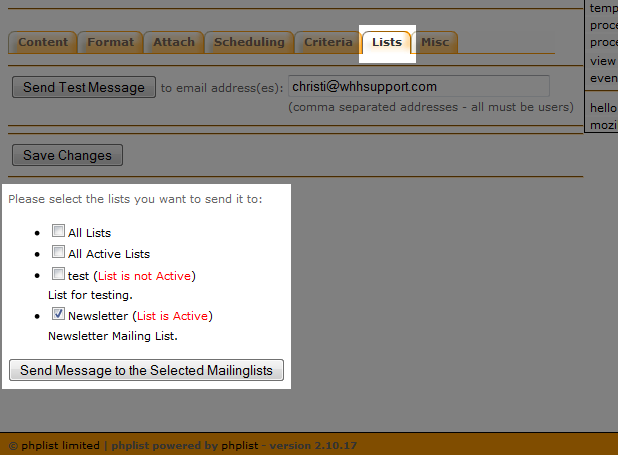
- On the next page you should see a notification that your message is saved and queued to send. To begin actually sending the message, click the process the message queue link.
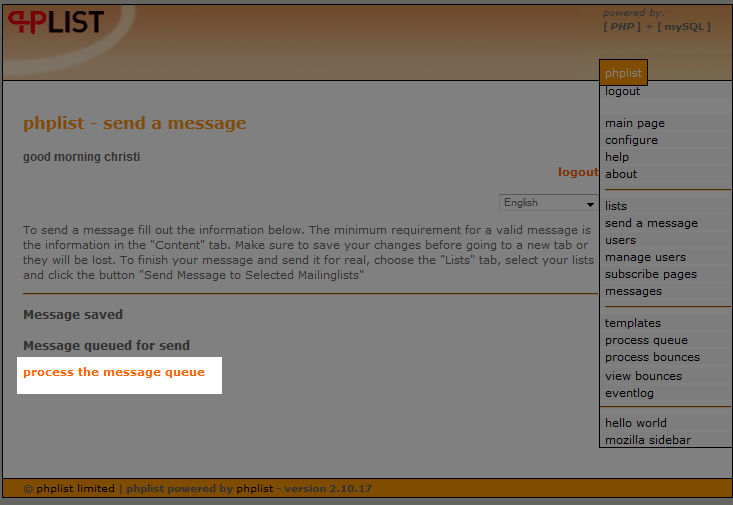
- The next page will give you information about the batch of emails being sent. In a previous article, we set up rate limiting for PHPlist and we can see it in action here.
Here's our first notification regarding the message queue process: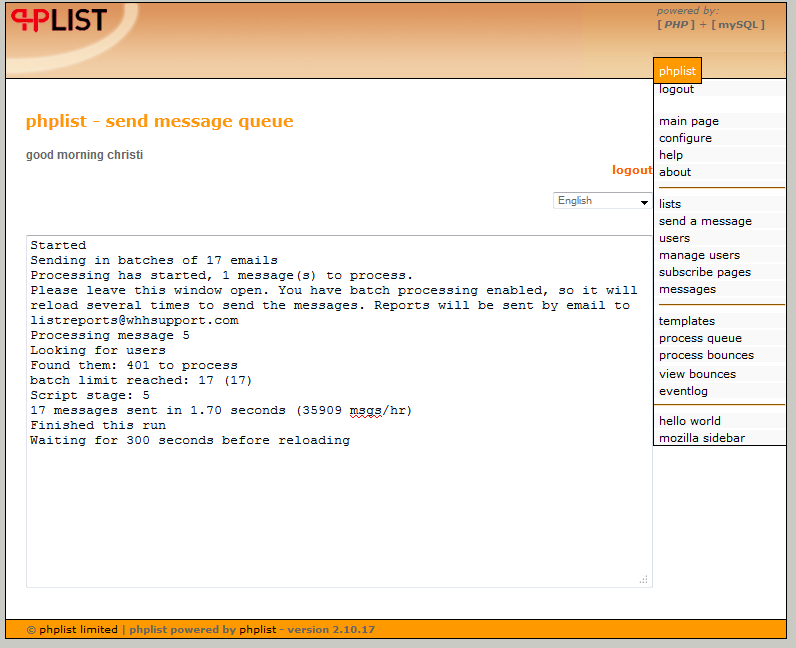
After each 5 minute interval (the delay we set for rate limiting emails in PHPlist) the notification will update:

|
Format: |
You can use this area to control the format of your message. Selecting the HTML radio button will send the message with HTML format to users who chose HTML format for messages when they signed up. All other users will receive the message in text-only format. |
|
Attach: |
If you have an attachment you would like to include, you can do that here. |
|
Scheduling: |
For our particular configuration of PHP, you can ignore this setting. |
|
Criteria: |
If you have set up attributes for your list, you can select the various attributes and values to refine who receives the message. |
|
Lists: |
Use this area to choose which lists you want to send your message to. |
|
Misc: |
Fill in an email address in each field if you would like to send a notification when sending starts and again when it completes. |
Please note, if you close your browser while PHPlist is processing batches, processing of the queue and sending of emails will stop. If you do close your browser by accident while the queue is processing, simply log back into your PHPlist admin area and click the process queue link in the menu on the right side of the page.

We value your feedback!
There is a step or detail missing from the instructions.
The information is incorrect or out-of-date.
It does not resolve the question/problem I have.
new! - Enter your name and email address above and we will post your feedback in the comments on this page!