Adding a file in Concrete5
The last article explained how to view form results in Concrete5. The next guide in our Working with Blocks series will show you how to add a file to your website in Concrete 5. This is useful when you want to share a file with visitors.
Add a file to your site:
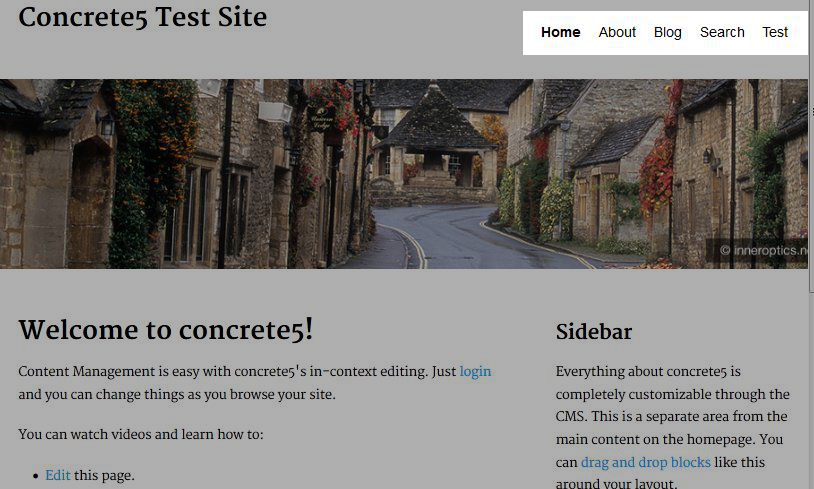
- After logging into your dashboard, in the site menu select the page that you want to add content to. For this example I am selecting the test page i created previously.
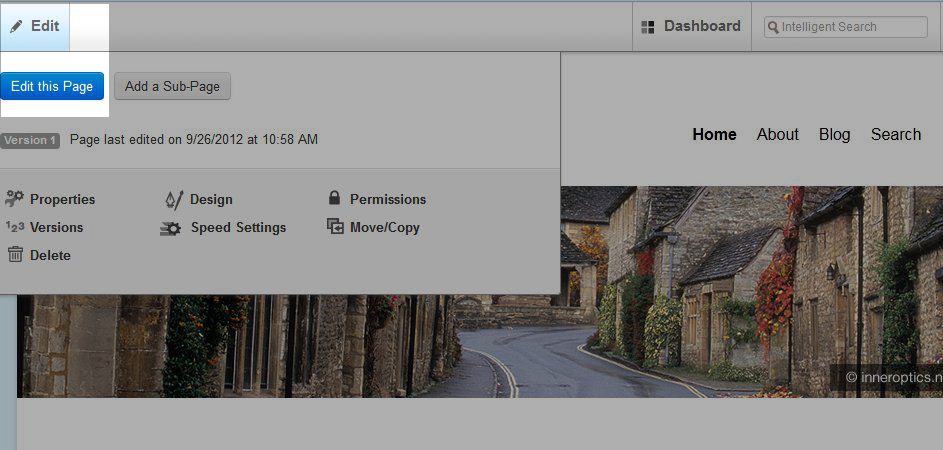
- On the top left, roll your mouse over edit and select edit this page from the menu. This will allow the fields in the page to be edited.
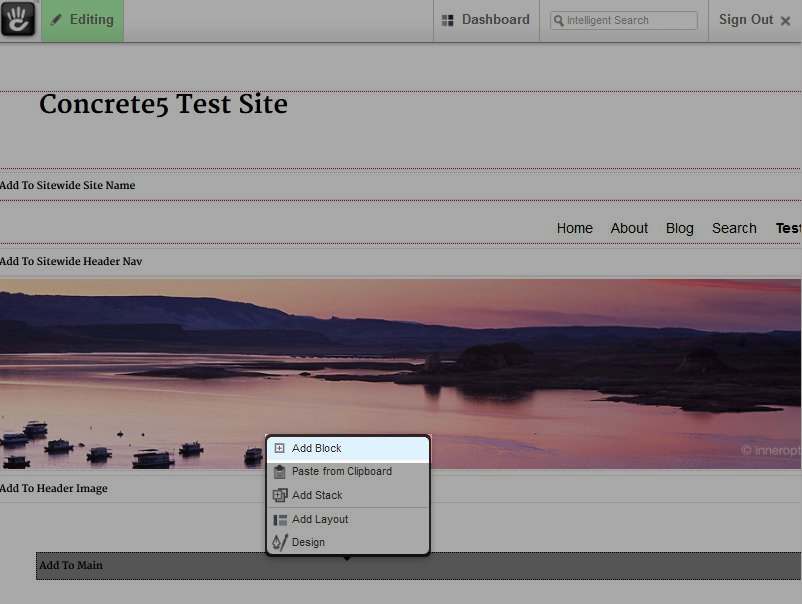
- Now, highlight and click the area you would like to add content to, and select add block from the list.
- On the add block menu select file. This will bring up the add file page, which allows you to choose the file, and enter the link text.
- Select choose file, then click the check box next to the file on the list. If the file is not on the list, browse and upload a new file first.
- Click the drop-down box titled '**With Selected' and click choose, this will bring you back to the add file menu, you will see the file listed here now.
- Enter the link text, this will be entered in the meta tags, then click add.
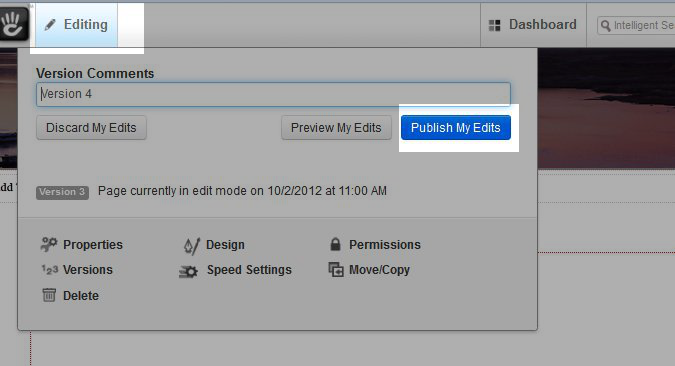
- Roll your mouse over editing, and select publish my edits to save what you have done.
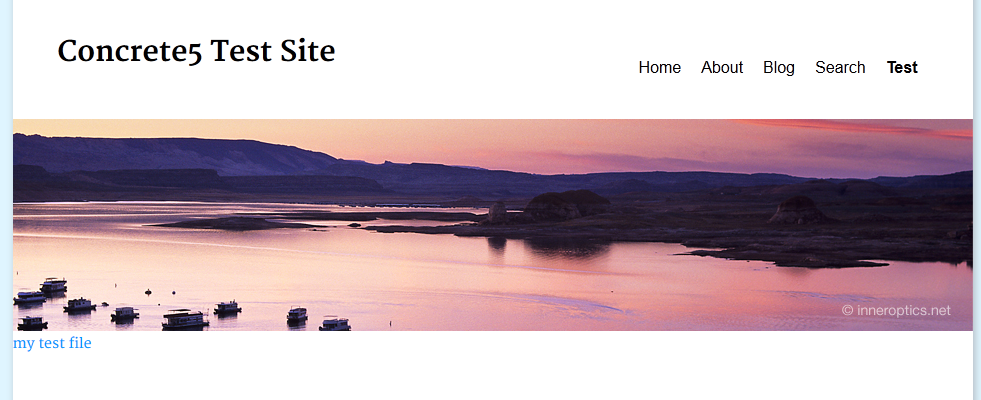
Congratulations, you will now see your file available on your site! In the next tutorial we will show you how to Add a google map to your page in Concrete5.
Did you find this article helpful?
Tweet
Category
Working with Blocks in Concrete5
Help Center Login
Working with Blocks in Concrete5
Related Questions
Here are a few questions related to this article that our customers have asked:
Ooops! It looks like there are no questions about this page.
Would you like to ask a question about this page? If so, click the button below!

We value your feedback!
There is a step or detail missing from the instructions.
The information is incorrect or out-of-date.
It does not resolve the question/problem I have.
new! - Enter your name and email address above and we will post your feedback in the comments on this page!