Adding Content to a Page in Concrete5
The previous guide in our creating pages in Concrete5 series we showed you how to change your Concrete5 site name. In this tutorial we will explain how to add content to a page in your concrete 5 webhosting account. This will allow you to customize the website pages with your specific information.
How to add content to your page in Concrete5:
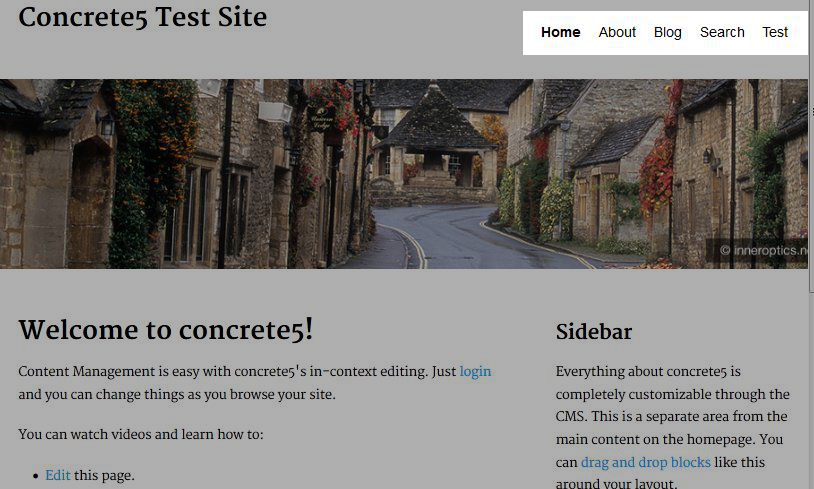
- After logging into your dashboard, in the site menu select the page that you want to add content to. For this example I am selecting the Test page.
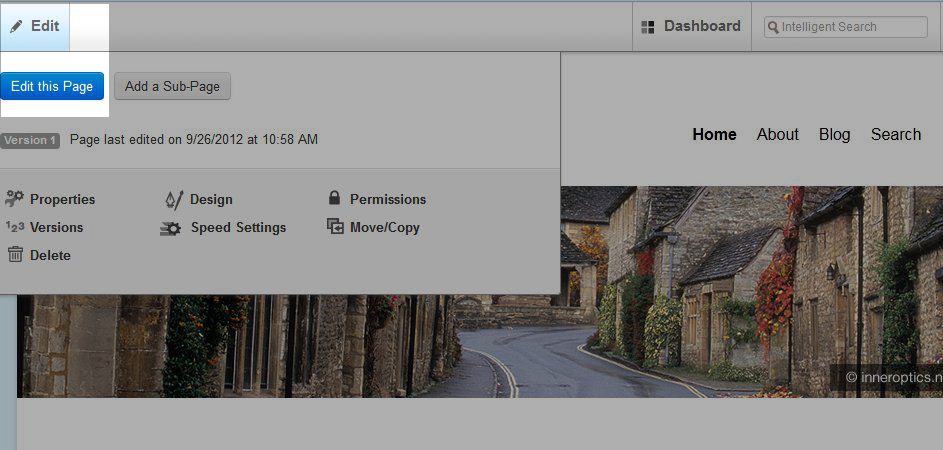
- On the top left, roll your mouse over edit and select edit this page from the menu. This will allow the fields in the page to be edited.
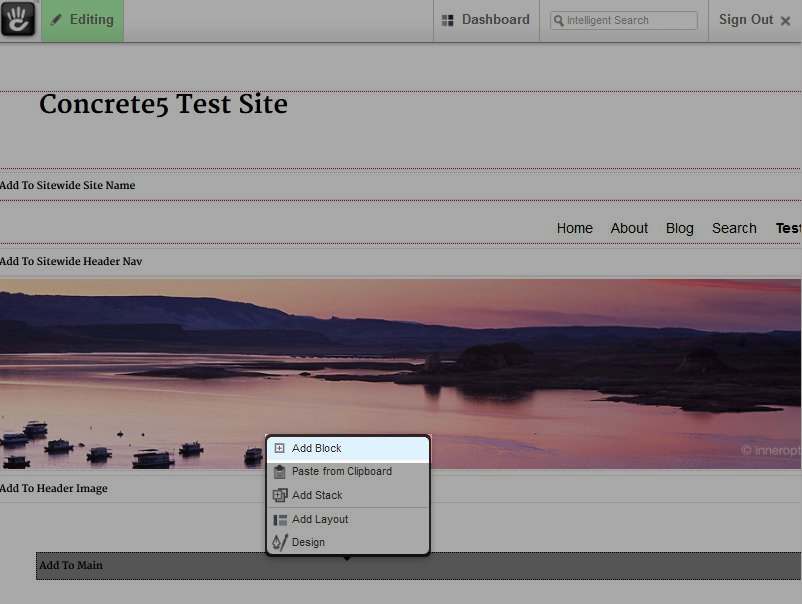
- Now, highlight and click the area you would like to add content to, and select add block from the list.
- On the add block menu select content. This will bring up the add content page, which is similar to most word processing programs. You can type within the box, and add style, such as bold and italics, to the text using the tool bar on top. You can also add images, links to other pages, and files here, among other options.
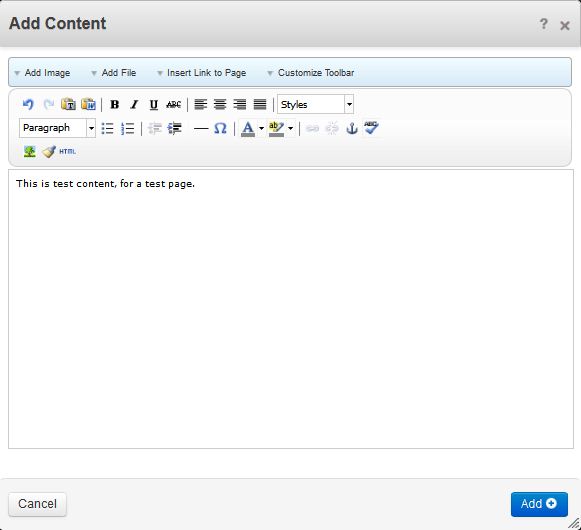
- After you have completed adding your content, select add on the Bottom right to save the page. This will bring you back to the edit this page section, and you will see your newly added content.
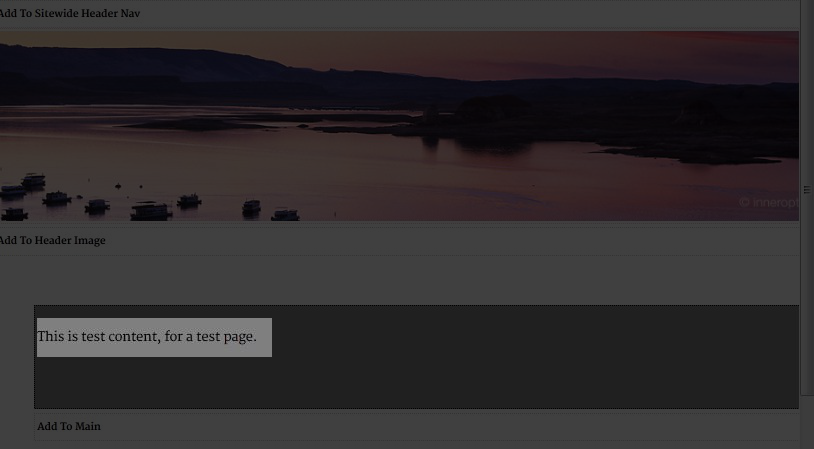
Congratulations, you have successfully added content to your page! In the next tutorial we will show you how to adjust the rich text editor setting in Concrete5.
Did you find this article helpful?
Tweet
Category
Creating pages in Concrete5
Help Center Login
Creating pages in Concrete5
Related Questions
Here are a few questions related to this article that our customers have asked:
Ooops! It looks like there are no questions about this page.
Would you like to ask a question about this page? If so, click the button below!

We value your feedback!
There is a step or detail missing from the instructions.
The information is incorrect or out-of-date.
It does not resolve the question/problem I have.
new! - Enter your name and email address above and we will post your feedback in the comments on this page!