Changing a Header Image in Concrete5
The previous guide went over installing a Concrete5 theme from the marketplace. In this tutorial, we will show you how to change a header image in Concrete5. Header images are important in Concrete 5 because it is the first impression visitors get of the site, due to its predominate position. It also appears site-wide, meaning it will appears on the top of every page on your website.
Typically something that represents or symbolizes your brand, or the service / product you provide would be used. The size of the header image used in the default template is 960px × 212px, this is not required, but take note of this since the image will display as is. This means if it is a square shaped picture instead of a rectangle, it will display as a square.
Change a Header Image:
- Log into your Concrete5 Dashboard.
- Click the Edit button on the top left.
- Click the exisiting header image to bring up the menu.
- Select the Edit option, to bring up the Edit Image menu.
- To the right of the Image option click the existing picture to bring the menu up.
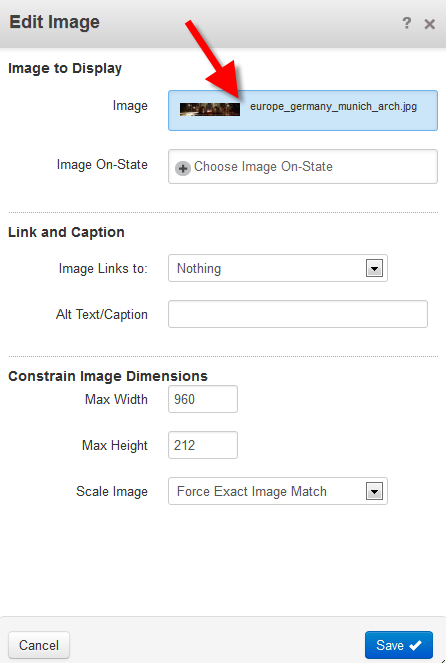
- Select Choose New File from the menu. This will bring up the File Manager.
You can select an existing image from the list, click Choose, then the blue Save button.
If you have not uploaded your image, use the Browse button to find your file, then the Upload File button to add it to the list. Then, click the new image from the list in file manager, click Choose then the blue Save button. - Roll your mouse over Editing, and click the blue Publish my Edits button.
Congratulations, you have learned how to change your header image!
Before: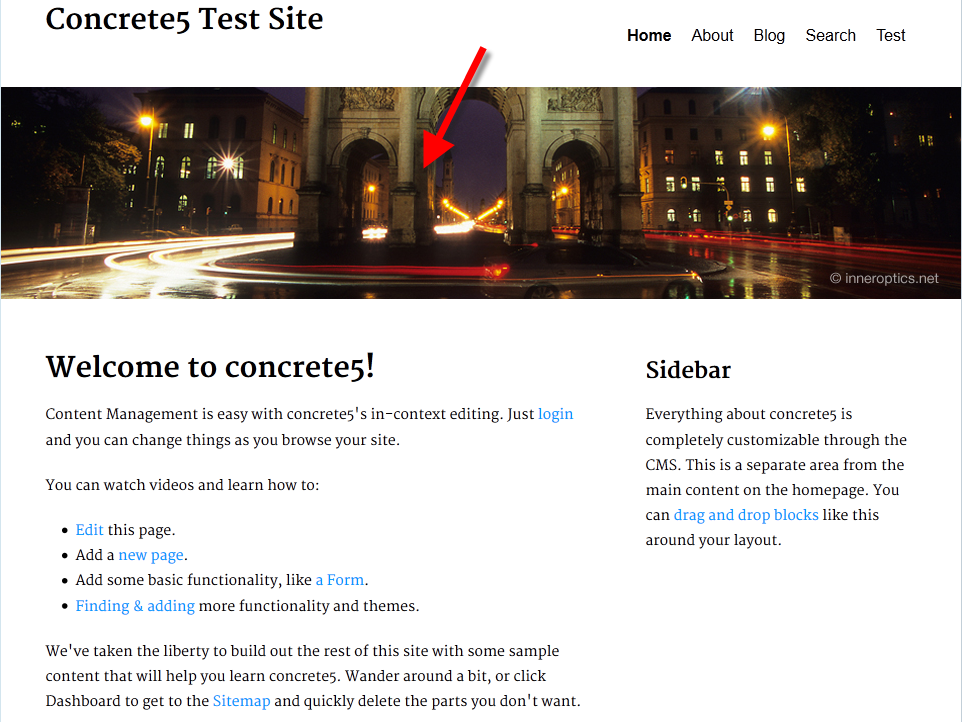
After: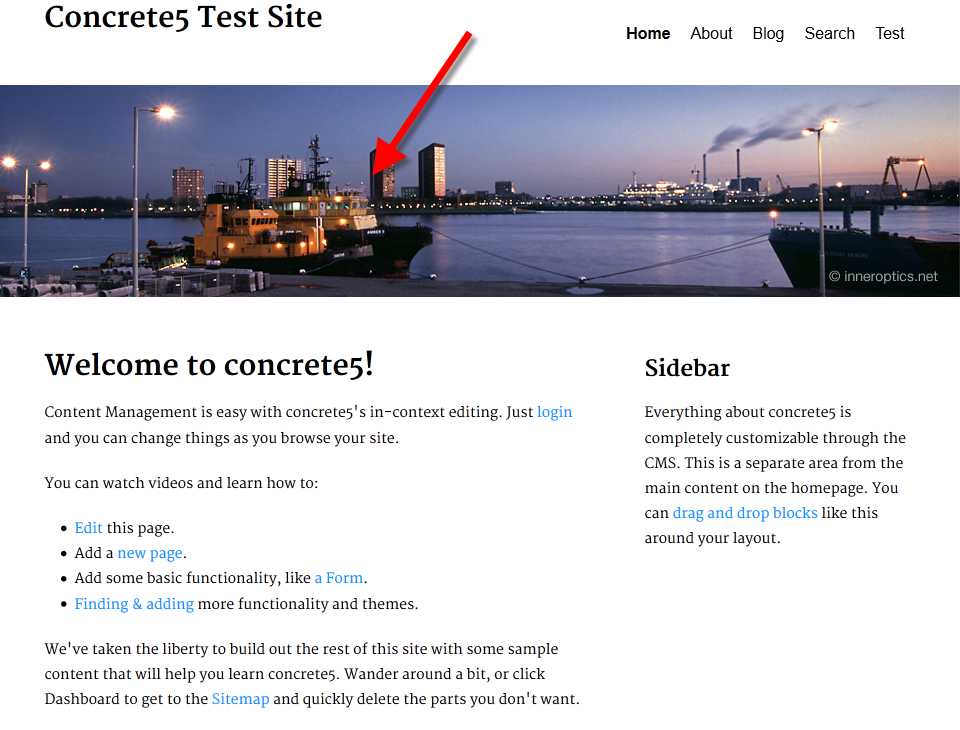
The next tutorial in our working with Concrete5 themes series will cover creating a site-wide site name.
Did you find this article helpful?
Tweet
Category
Working with Concrete5 Themes
Help Center Login
Working with Concrete5 Themes
Related Questions
Here are a few questions related to this article that our customers have asked:
Ooops! It looks like there are no questions about this page.
Would you like to ask a question about this page? If so, click the button below!

We value your feedback!
There is a step or detail missing from the instructions.
The information is incorrect or out-of-date.
It does not resolve the question/problem I have.
new! - Enter your name and email address above and we will post your feedback in the comments on this page!